Quick Start Admin SetupEntity Management
Updated:

Learn how to setup Lextree quickly for you and your team.
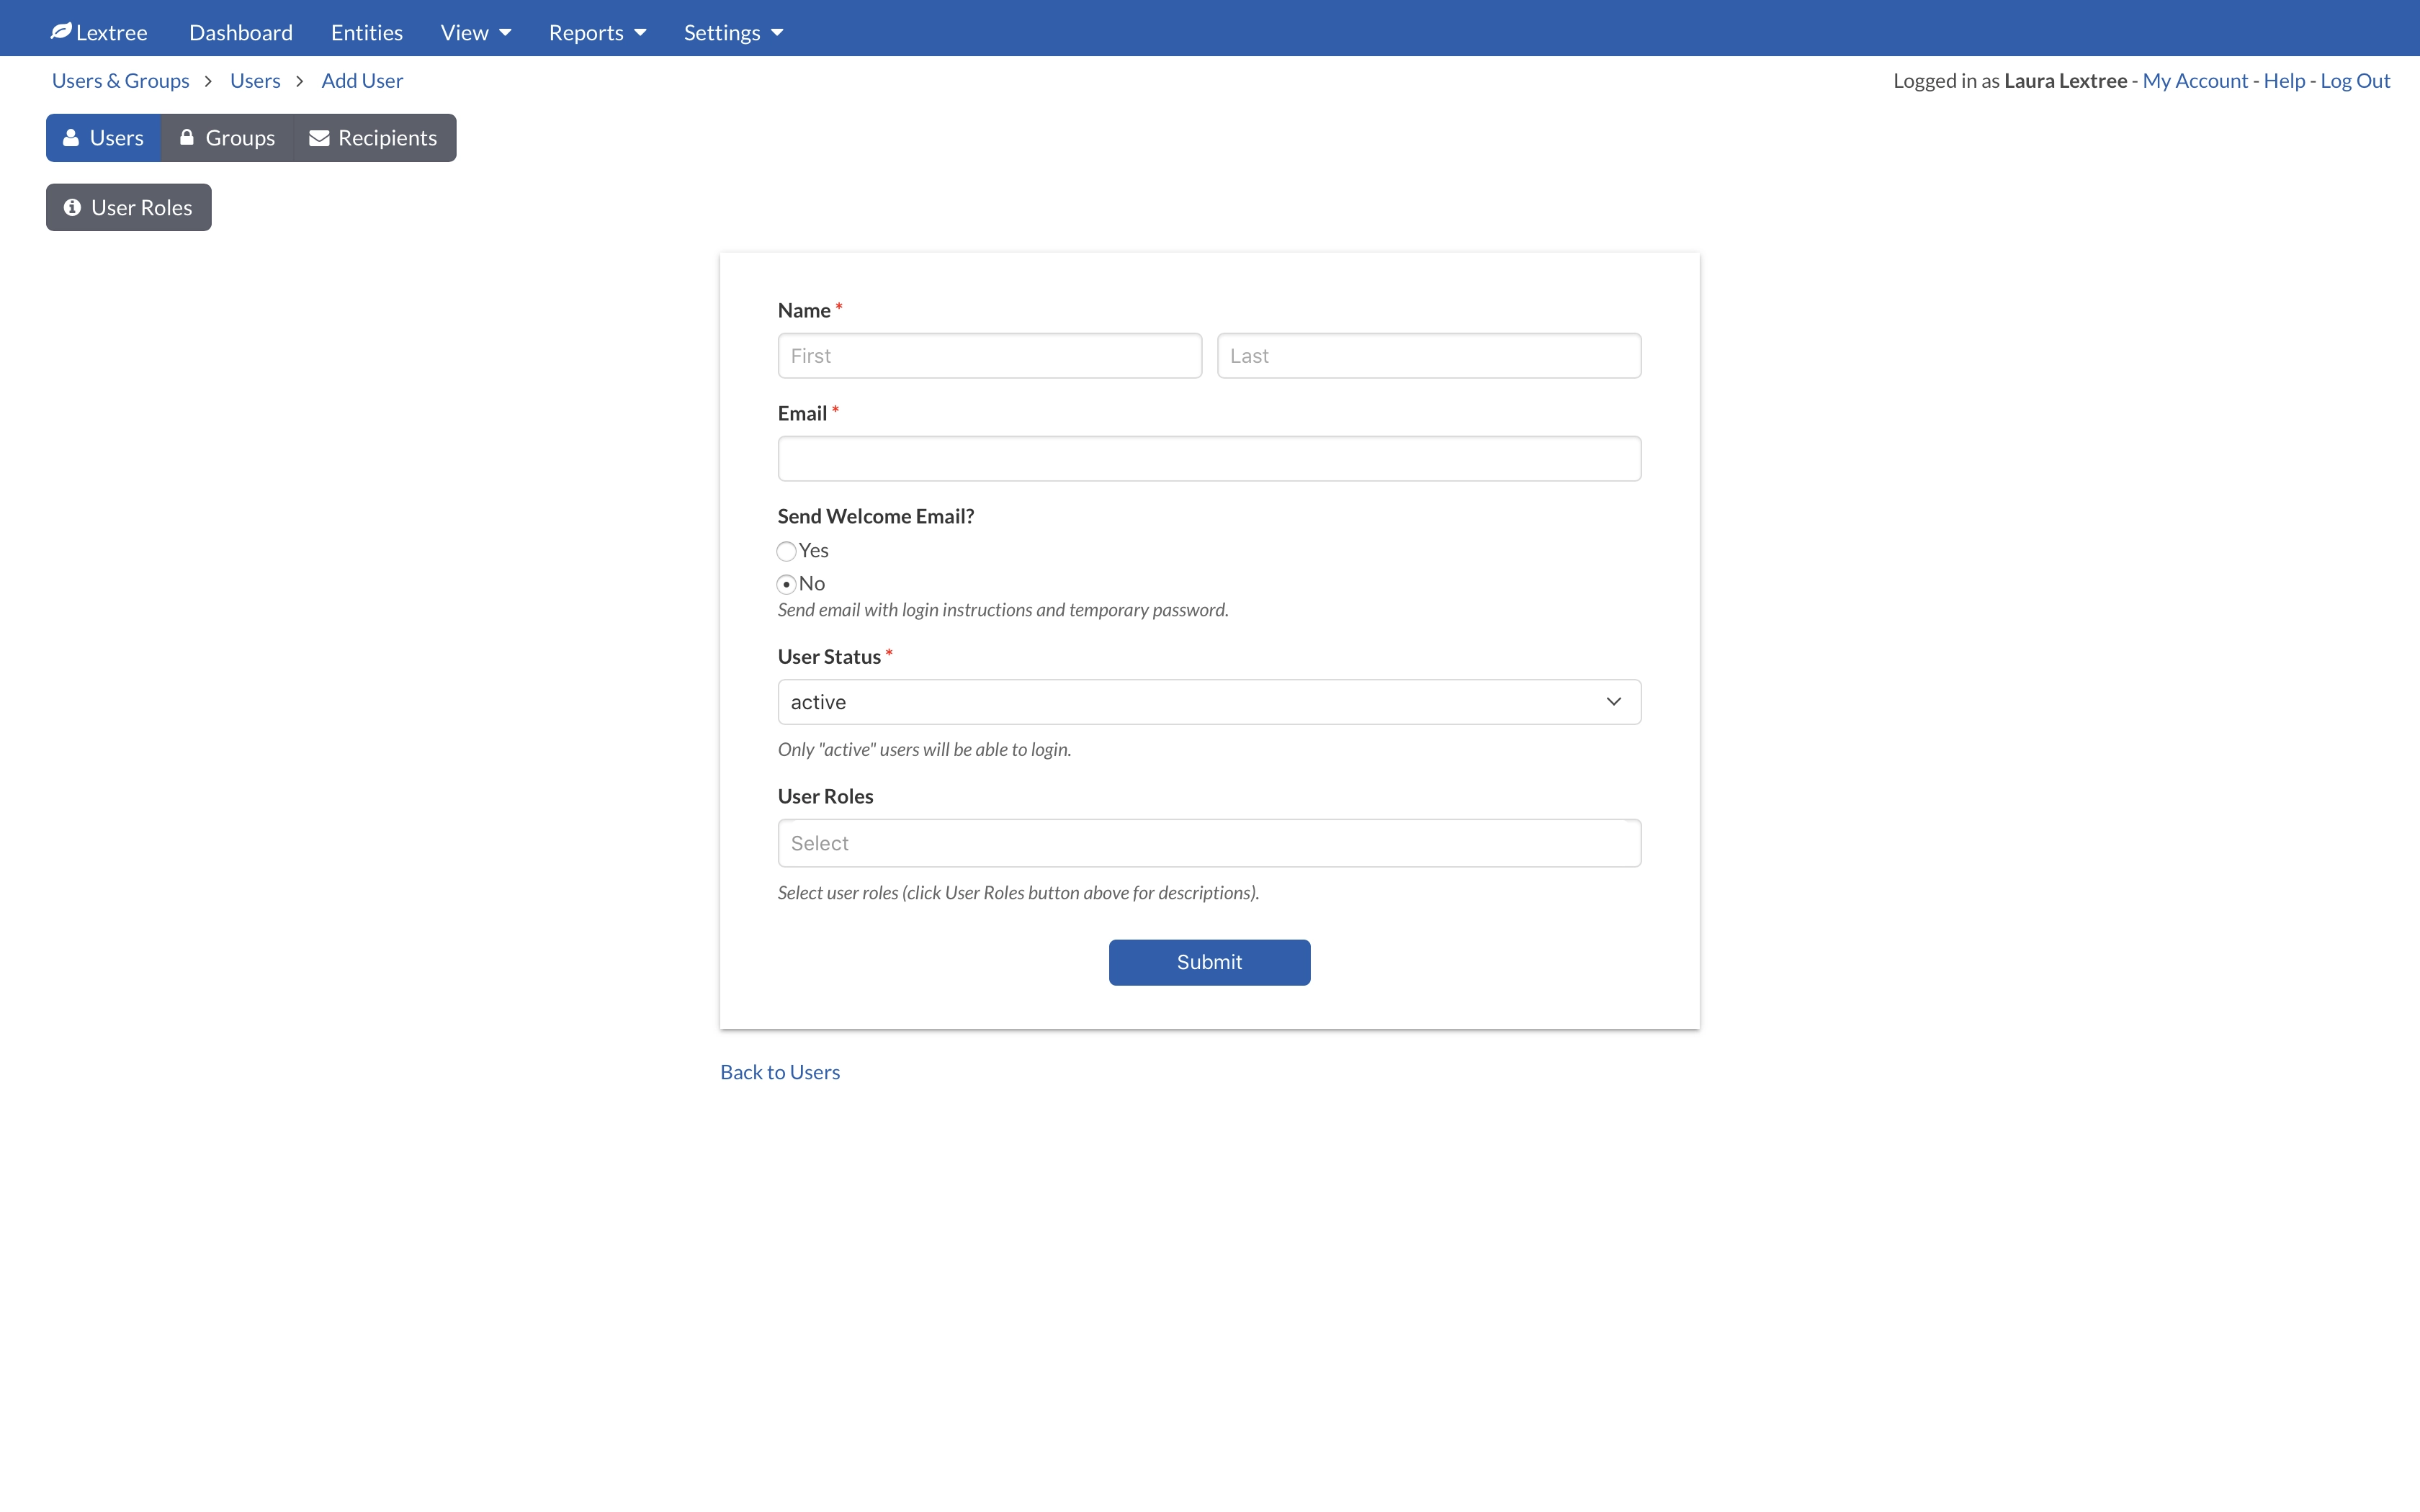
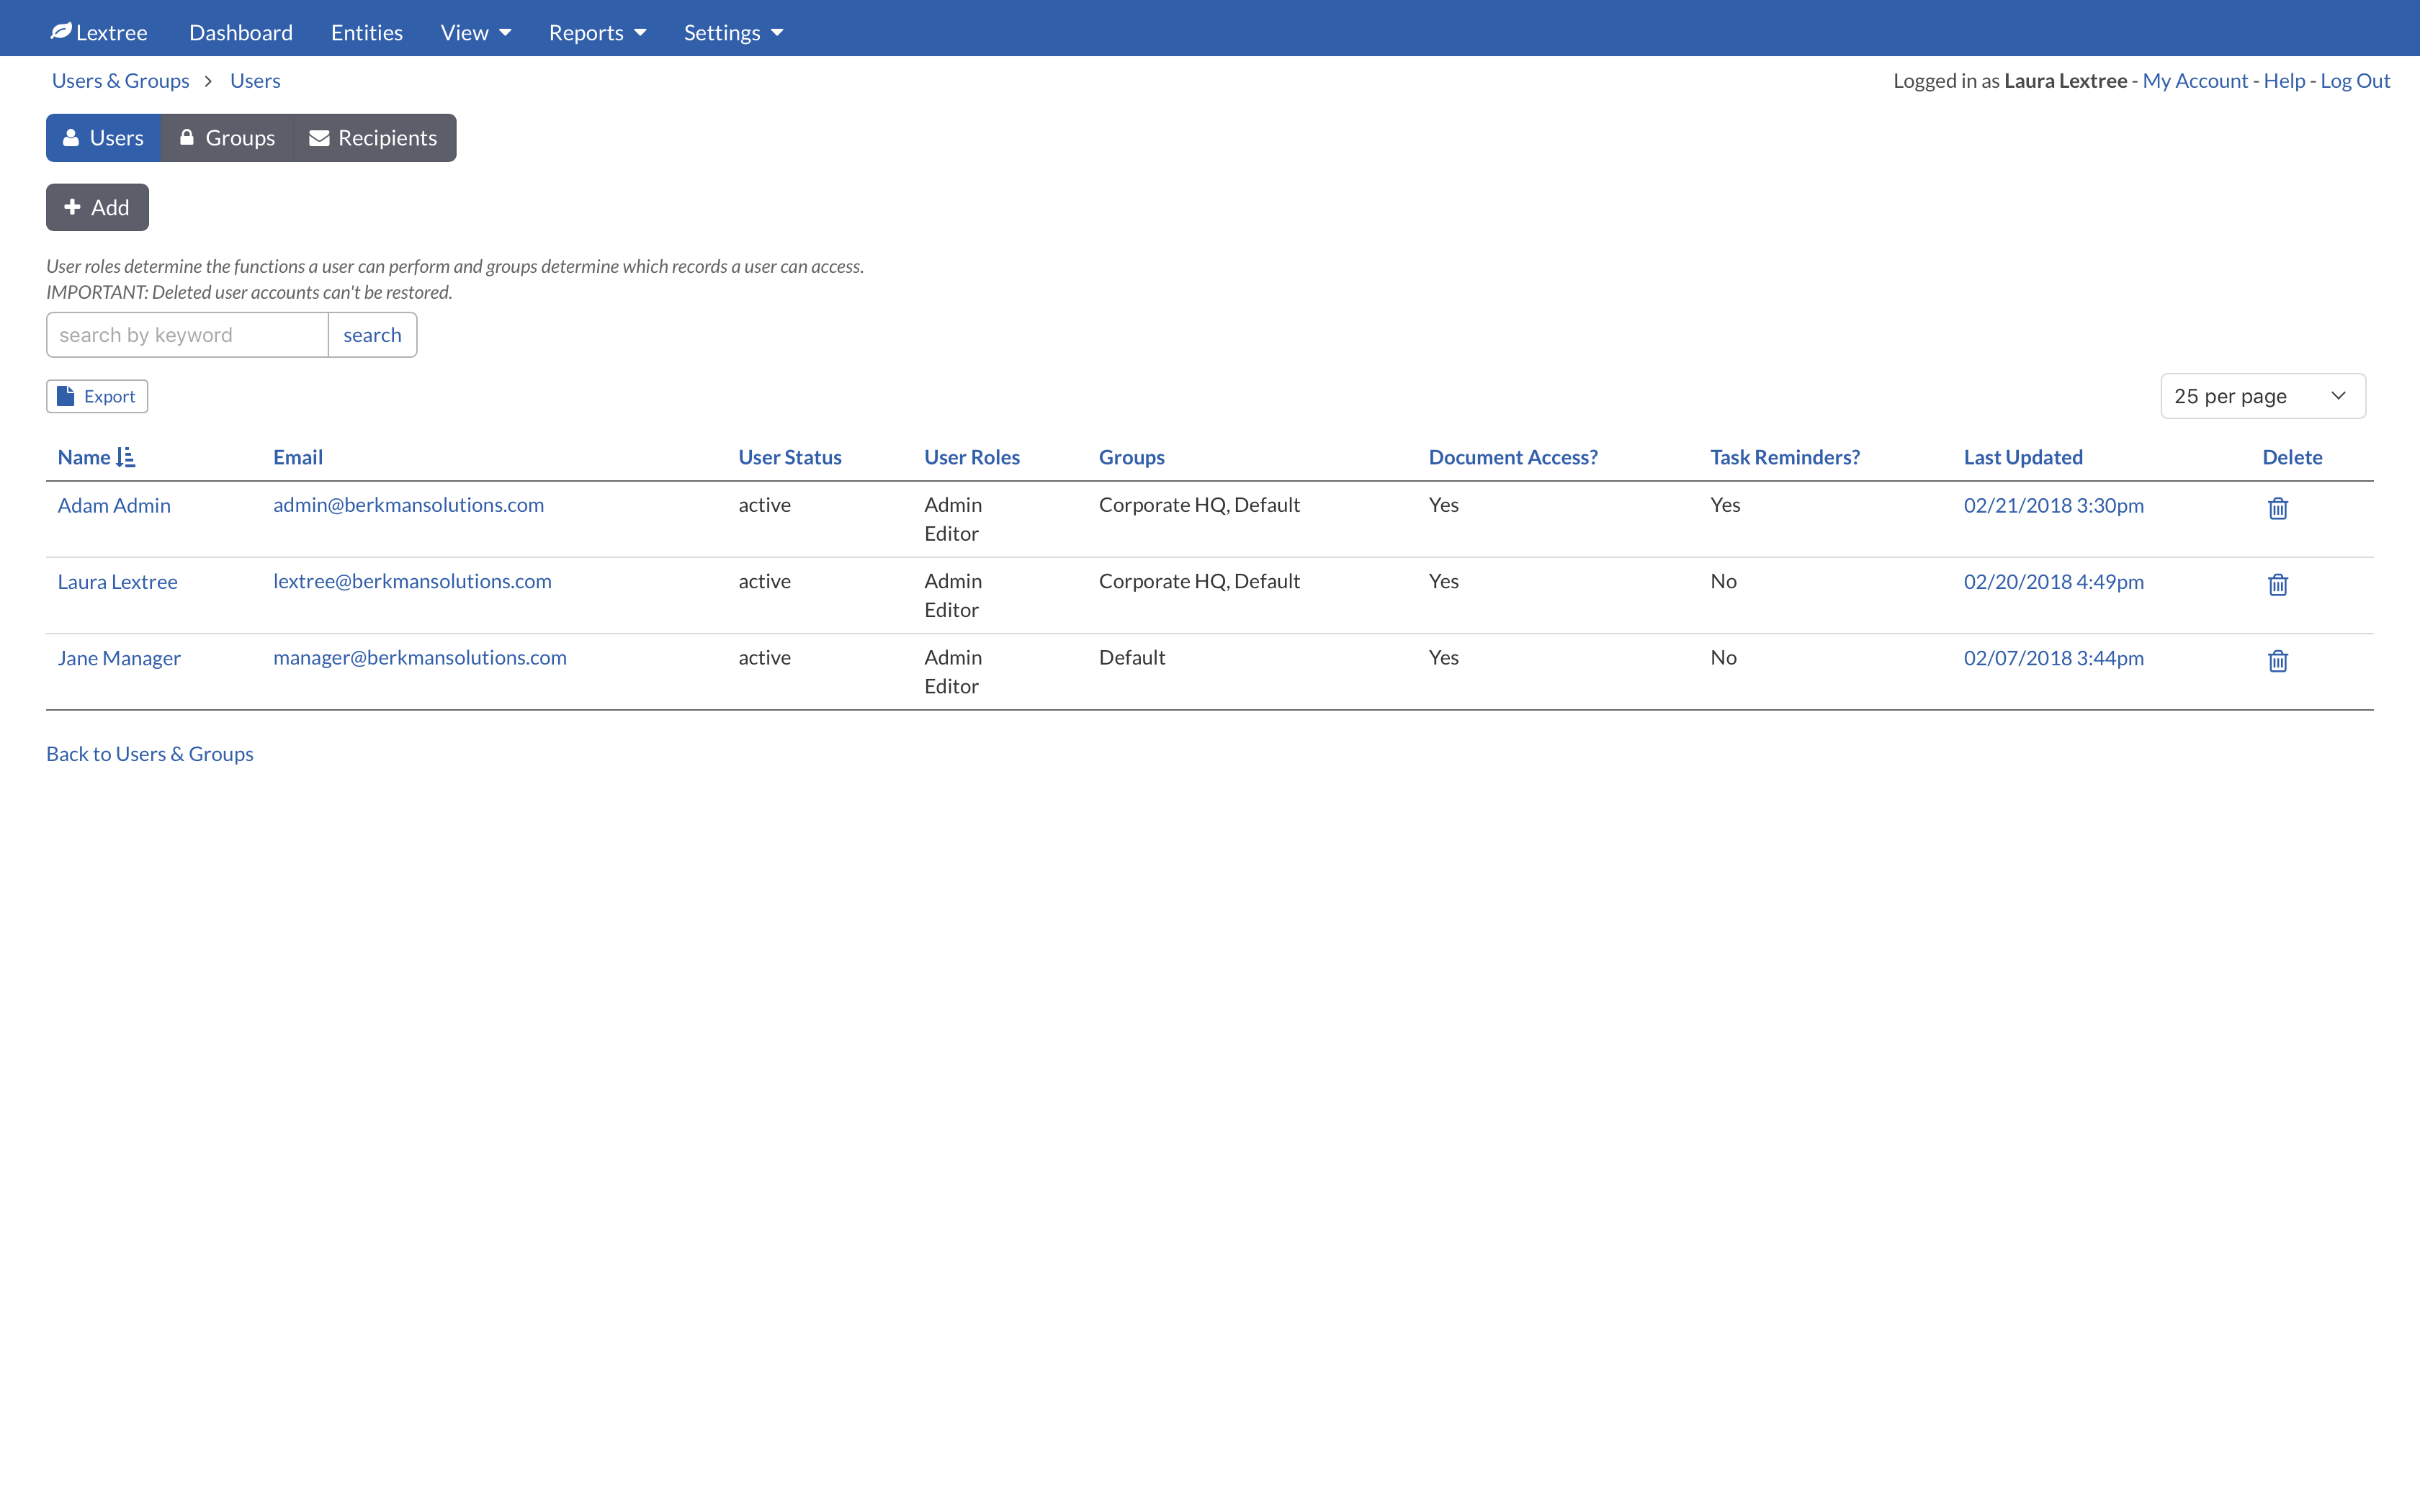
Step 1. Add Users
Unless you are on the Professional plan, add at least one other user to explore the possibilities of Lextree.
Navigate to Settings > Users & Groups.

Give the user the Editor role by clicking inside the Role field. At your option also give the user the Admin role.
Add the user to the Default group by clicking inside the Group field.
Check the box for the user to receive weekly task alerts.
You can change these settings for any user at anytime.
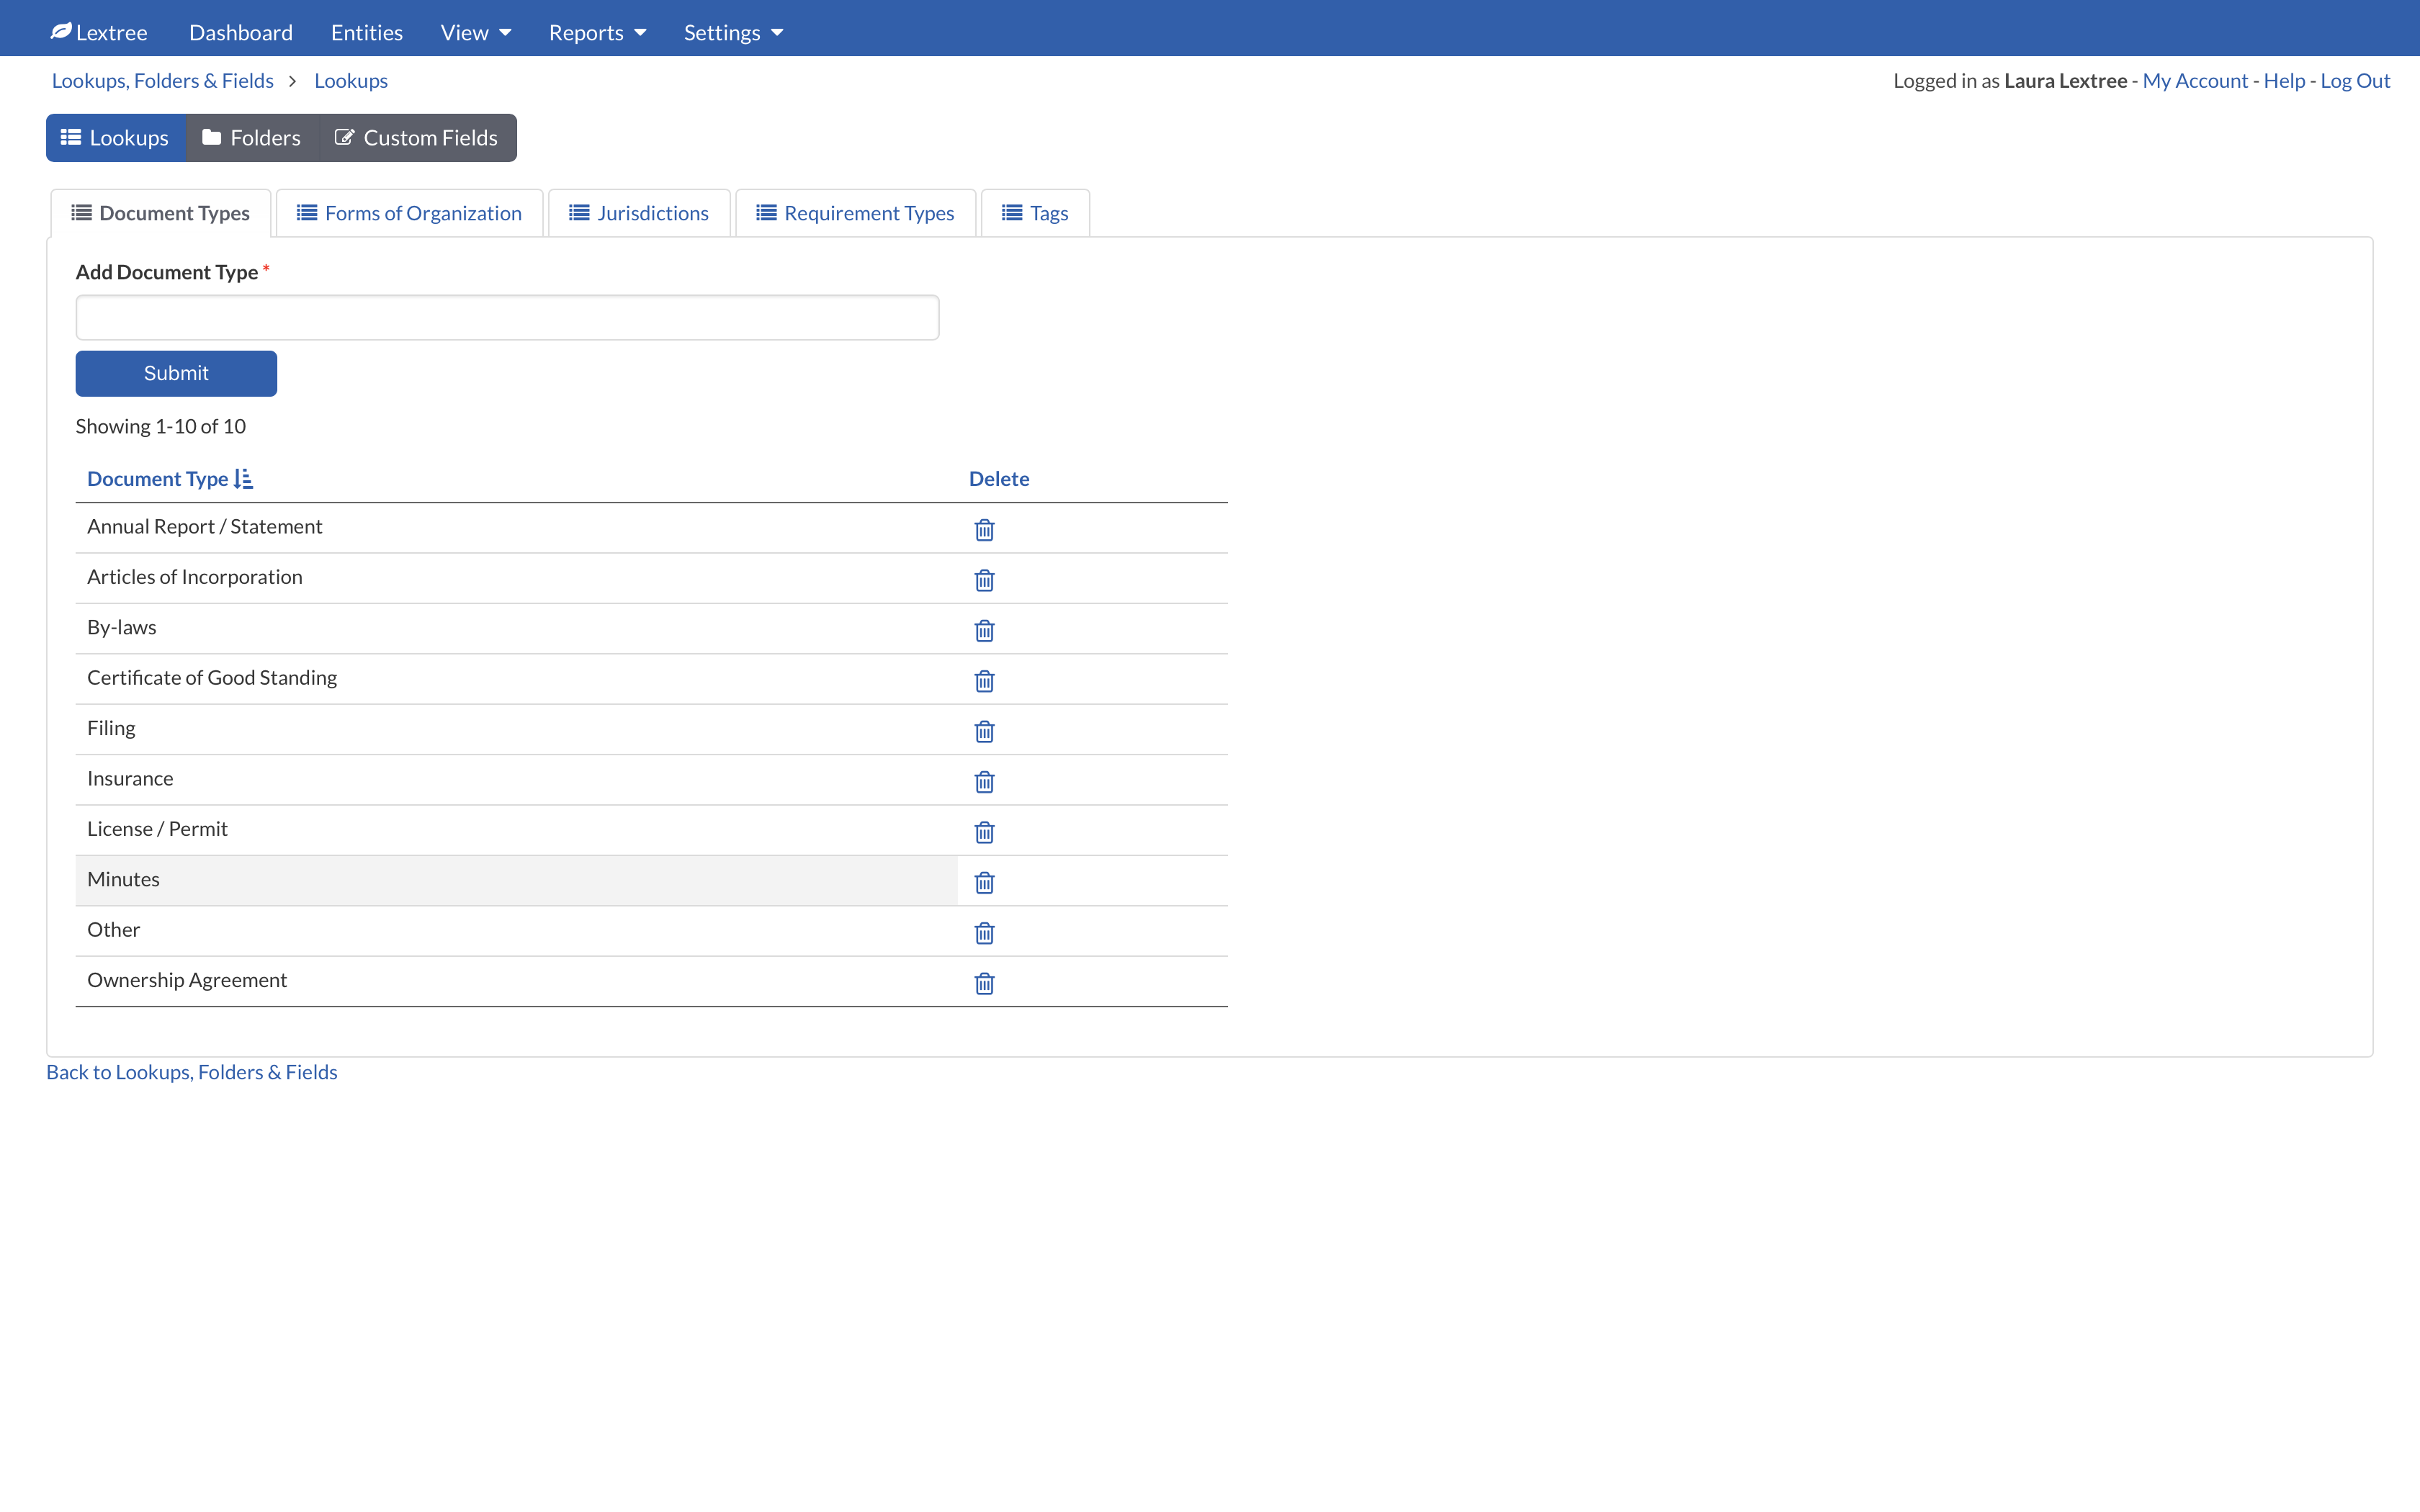
Step 2. Customize Lextree
Navigate to Settings > Lookups, Folders, & Fields.

Take a quick look through the tabs to add, edit, or delete any of the options. Navigate to Settings > Lookups, Folders, & Fields > Lookups > Forms of Organization to modify the types of legal entities you will manage.
Step 3. Add your first entity
Navigate to Entities on the main menu.
Click the +Add button to create a new entity.
Did you see the Form of Organization you added in Step 2 in the field labelled Form of Organization?
Once you Submit the entity, Lextree will bring you to the Entity Details so that you can begin managing that entity.
Congratulations!
That is all you need to do to get started with a basic administrative setup of Lextree. Keep two things in mind. First, we just glossed over a lot of options that you might want to revisit or change.
Second, you can make administrative changes any time.
